
Note: This is an older blog post that I translated into English on multiple requests.
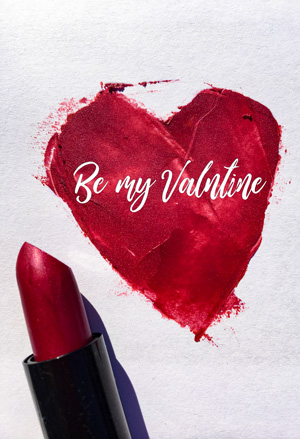
Valentine's Day - the day of those in love
And what do we women love? Our lipstick! After all, according to statistics, we use an average of 2.7 kg of it in the course of our life. And even those who usually do not or only hardly use
make-up, 87% of all women use lipstick.
Reason enough to treat our lips to something special on Valentine's Day. A simple recipe for a soft, nourishing lipstick in an exciting color that is reminiscent of the strong red of a rose with
a light, silky shimmer.
And that's what it takes:
1.8 g castor oil
1.7 g jojoba oil
0.6 lanolin
0.5 g candelilla wax

0.4 g Beeswax
0.5 g Food Red
0.2 g Uniquehorn
0.1 g Boudoir
0.2 g Sericite Mica
0.1 g Tocopherol (no Acetat)
In addition: A heat-resistant beaker, a stirring stick (e.g. glass rod or wooden stick), a fine balance (0.1g exactly), a pot with some water as a water bath, a lipstick mold (I use an aluminum mold here, but there are also cheaper silicone molds ) and a lipstick tube. You can of course also use an empty lip care tube or a jar into which the liquid lipstick can be poured directly.
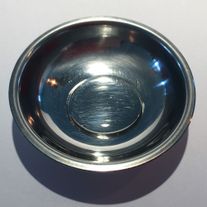
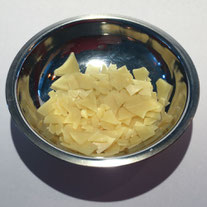
1
Put all ingredients, except for the pigments an the Tocopherol, in a heat-resistant beaker and melt in a water bath (or in the microwave).
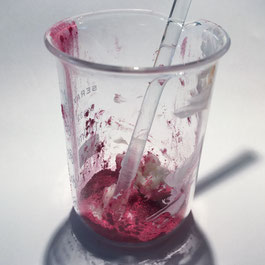
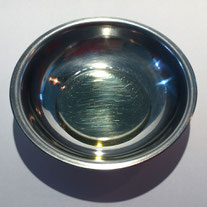
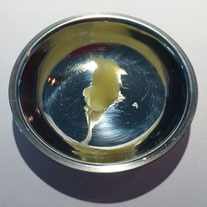
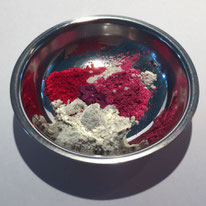
2
Stir and add vitamin E and pigments into the melted mass. Should the mass cool down too quickly, arefully heat everything again in a water bath until a smooth, liquid mass is formed.
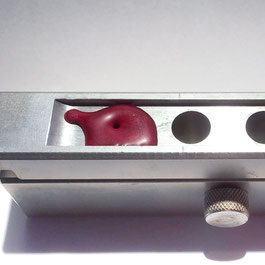
3
Pour the liquid mass into a lipstick mold. As soon as the mixture has set (you can recognize it by the small funnel that appears at the top) the mold can be put in the refrigerator for at least
30 minutes.
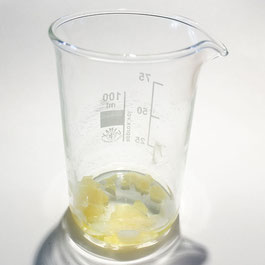
If there is any lipstick leftover, simply fill it in a jar. So you have a small amount e.g. for your handbag.
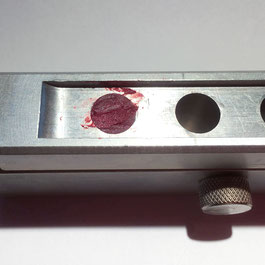
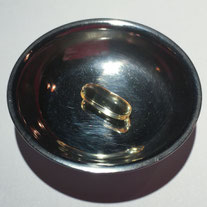
4
Once the lipstick has hardened, the excess mass can be removed.
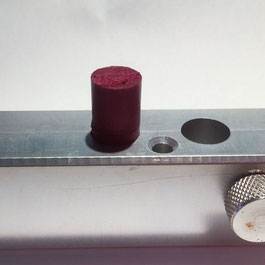
5
Carefully remove the upper part of the mold.
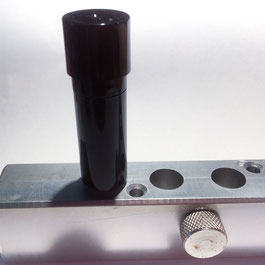
6
Turn the lipstick tube up as far as it will go and place it on the pencil. Then carefully pull out the lipstick.
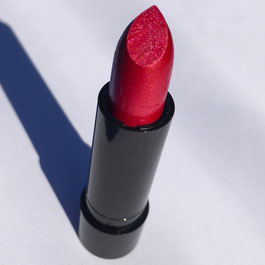
7
Finished! Now the lipstick can be screwed in and closed
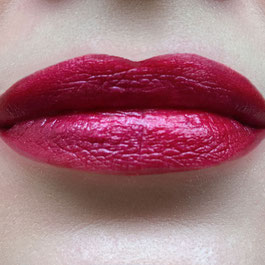
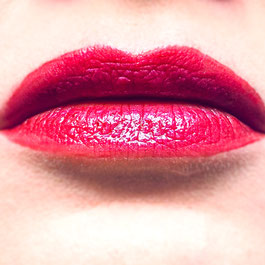
8
And this is what it looks like on the lips.
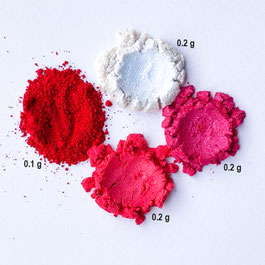
9
for a more cool toned color mix - left: carmine, top: interference blue, right: cool pink, below: warm pink
10
And this is what the cool color mix looks like on the lips.